Beer-Battered Fried Chicken
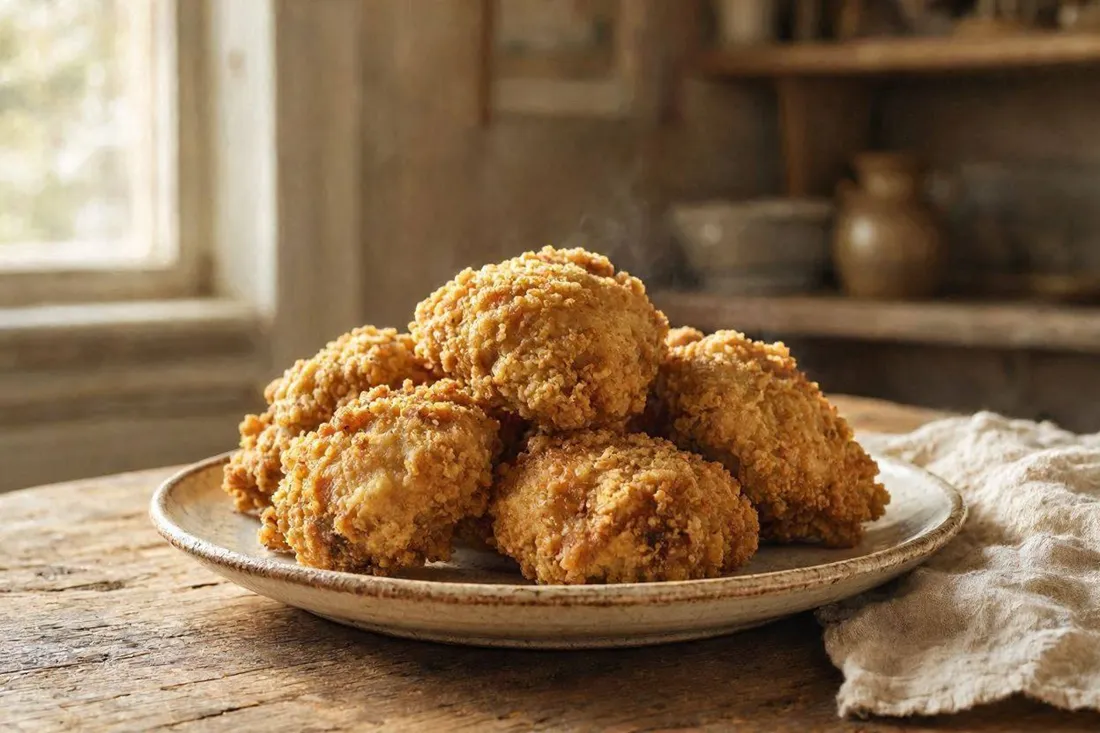
Chicken pieces double-dredged in flour and a beer-and-egg batter, then fried until golden — a simple, crisp early 20th century technique.
Quick Summary
Chicken pieces salted and rested, then double-dredged through flour and a beer-and-egg batter before frying until deep golden. The same technique works equally well on veal.
Historical recipe
Modernised adaptation of an early 20th‑century source. Not independently kitchen-tested by Attic Recipes. Quantities, temperatures, and food safety guidance have been updated for a contemporary kitchen — results may vary and errors may exist. Nutritional values, where provided, are estimates only and have not been laboratory tested. Always follow current food safety guidelines for your region. If you have a health condition, allergy, or dietary requirement, consult a qualified professional before preparing this recipe.
Use of this recipe is entirely at your own risk and subject to our Terms of Service and Privacy Policy. Attic Recipes accepts no liability for any adverse outcome.
- Eggs
- Gluten
Additional notes
-
Warning
This recipe uses raw chicken. Keep it refrigerated until breading, use clean equipment and hands throughout, and confirm an internal temperature of at least 74°C (165°F) at the thickest part before serving, particularly important for pregnant women, young children, the elderly, and immunocompromised individuals.
-
Note
The batter contains beer. Frying evaporates most, but not necessarily all, of the alcohol content. Those avoiding alcohol, including pregnant women and children under 18, should be aware of this before serving.
-
Note
This dish is high in both saturated fat (16g per serving) and sodium (about 1455mg per serving), largely from the frying fat and the salt used to season the meat. Those managing saturated fat or sodium intake may want to adjust portion size or salt quantity to taste.
- 1
Season the 1.2kg chicken pieces with the 12g salt and let them rest for 1 hour.
- 2
Put the 300ml lard in a large pot or deep pan and heat it well over medium-high heat.
- 3
In a deep bowl, beat the 1 egg together with the 200ml beer and the 1g salt until well combined.
- 4
Roll each piece of chicken first in the flour, then dip it into the egg-and-beer mixture, then back into the flour, then again into the egg-and-beer mixture.
Tip This double-dredging is what gives the coating its characteristic thickness and crunch — don't skip the second round. - 5
Lower the coated chicken pieces into the hot fat and fry, turning to cook both sides evenly.
- 6
Fry until the coating is a deep golden-yellow color and the internal temperature of the chicken reaches at least 74°C (165°F).
Tip Check the thickest piece, closest to the bone, with an instant-read thermometer to confirm doneness. - 7
Drain briefly on paper towels before serving.
Nutrition Information per 1 serving (approx 2 pieces)
Nutritional values are approximate estimates and may vary based on specific ingredients used, preparation methods, and portion sizes.
Serving Suggestions
Serve hot, with a simple side of boiled or mashed potatoes and a fresh cucumber or lettuce salad. As the traditional approach notes, the same technique works well with veal cutlets in place of chicken.
About This Recipe
Most breaded fried chicken recipes call for a single pass through flour and egg. This one asks for two: flour, then a beer-and-egg wash, then flour again, then the wash again. The extra round builds a noticeably thicker, craggier coating that turns deeply golden and stays crisp even after the chicken rests for a few minutes off the heat — a small extra step that makes a real difference in the final texture.
The beer in the batter isn’t just for flavor. It adds carbonation that lightens the coating slightly and contributes to the deep, even color the recipe is named for.
Why It Works
The double dredge works because each layer of flour has something wet to cling to before the next layer goes on — a single pass leaves a thin, patchy coating, while the second round of egg-and-beer wash gives the second layer of flour a proper surface to adhere to, building real thickness. The carbonation in the beer creates tiny bubbles in the batter as it fries, which helps the coating turn light and craggy rather than dense. Salting the chicken an hour ahead of breading also matters: it seasons the meat itself, not just the coating, and draws out a little surface moisture that helps the first layer of flour stick properly.
Modern Kitchen Tips
Pat the chicken pieces dry before the first flour dredge, even after salting and resting — excess surface moisture makes the coating slip rather than stick. Use tongs to lower pieces into the hot fat away from you, to avoid splashing. If frying in batches, keep finished pieces on a wire rack rather than paper towels, so steam escapes from underneath and the coating stays crisp instead of going soft.
A classic of early 20th century home cooking, preserved and adapted for the modern kitchen.
The Story Behind This Recipe
Historical Context
Early 20th century recipes for this dish specified rendered fat for frying and judged doneness by color alone — a deep golden-yellow — since kitchen thermometers were not common in home kitchens of the period. The beer quantity was measured by a standard drinking glass rather than a precise volume. The traditional approach also notes that the same double-dredging technique works equally well on veal, not just chicken.
Modern Kitchen Adaptation
The chicken weight, salt quantities, flour amount, fat quantity, and beer volume are estimated, since the traditional approach specified none of these precisely. An internal temperature target of 74°C (165°F) has been added to confirm the chicken is safely cooked through, since color alone is not a reliable food safety indicator. Lard remains the historically correct fat for frying; a neutral oil such as sunflower or peanut oil can be substituted for a lighter result with a similar level of crispness.
This recipe is an independent modern adaptation developed from historical sources in the public domain. It is provided for informational and educational purposes only and does not constitute professional dietary, nutritional, or medical advice. Food preparation involves inherent risks. The reader assumes full responsibility for safe food handling, ingredient sourcing, and adherence to current local food safety guidelines. The site operator accepts no liability for outcomes resulting from the preparation or consumption of this recipe.
One recipe.
Every week.
You Might Also Like
More recipes from the same category
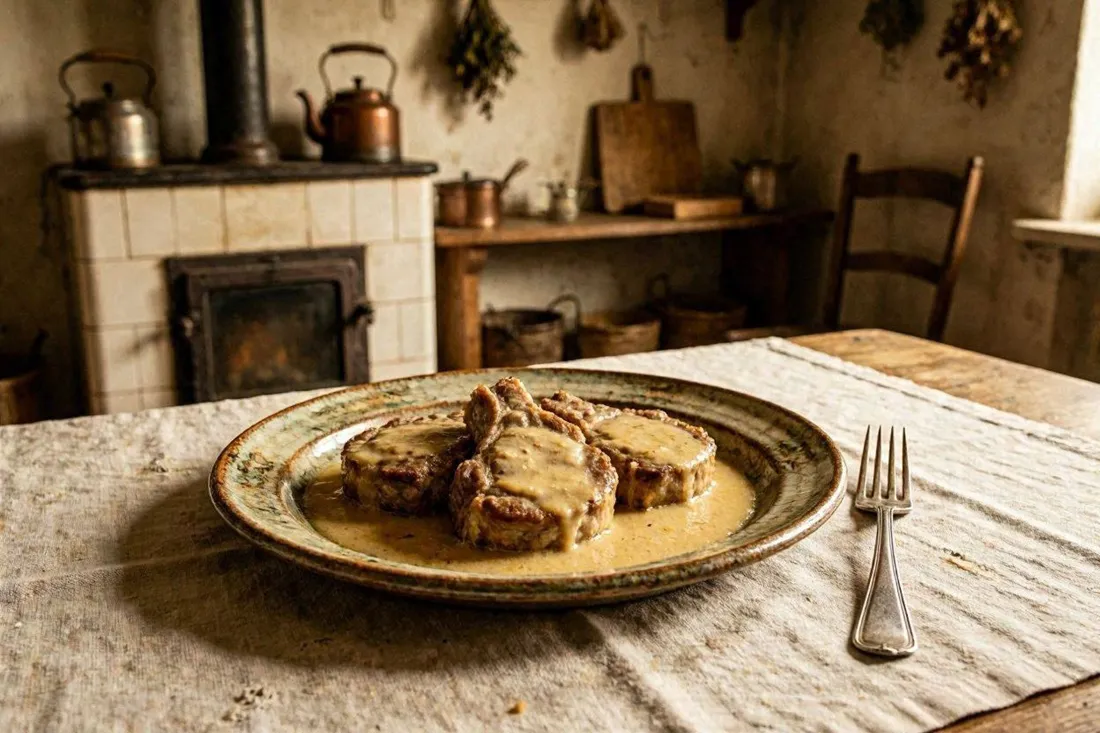
Braised Pork Chops in White Wine and Sour Cream Sauce
Pork loin chops braised with onion, carrot, parsley root, and celery root in white wine, then finished with a strained sour cream sauce.

Breaded Savoy Cabbage Stuffed with Ham
Tender young savoy cabbage heads filled with ground ham, fried onion, and herbs, breaded and pan-fried until golden. A hearty Central European classic.
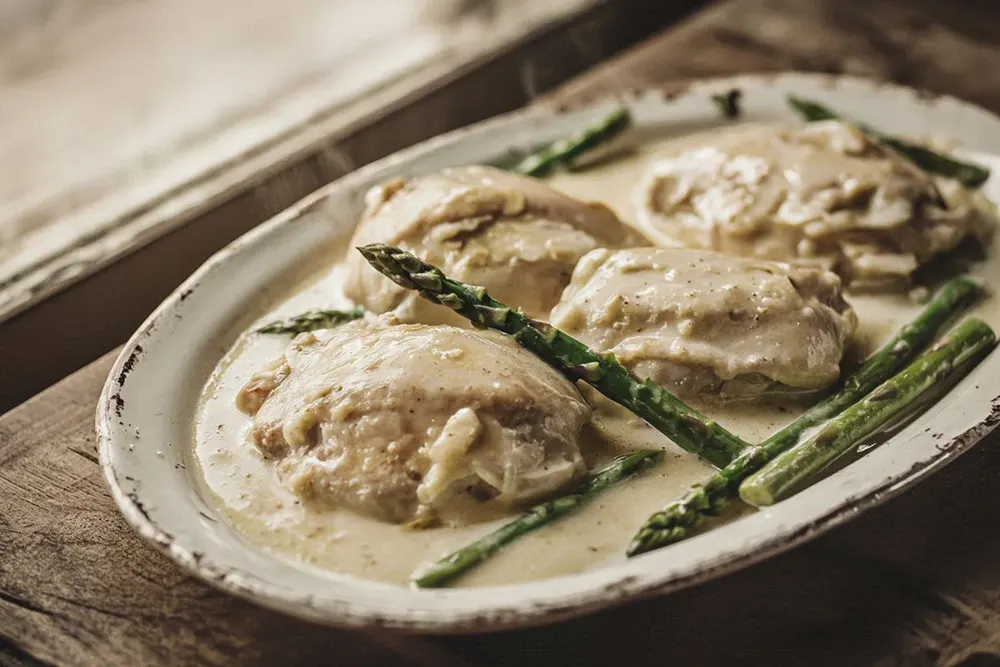
Chicken in Asparagus Sauce
A whole chicken poached in spiced broth, then finished in a silky velouté enriched with egg yolks and cream, garnished with tender asparagus tips.