Candied Lemon Peel Spoon Sweet
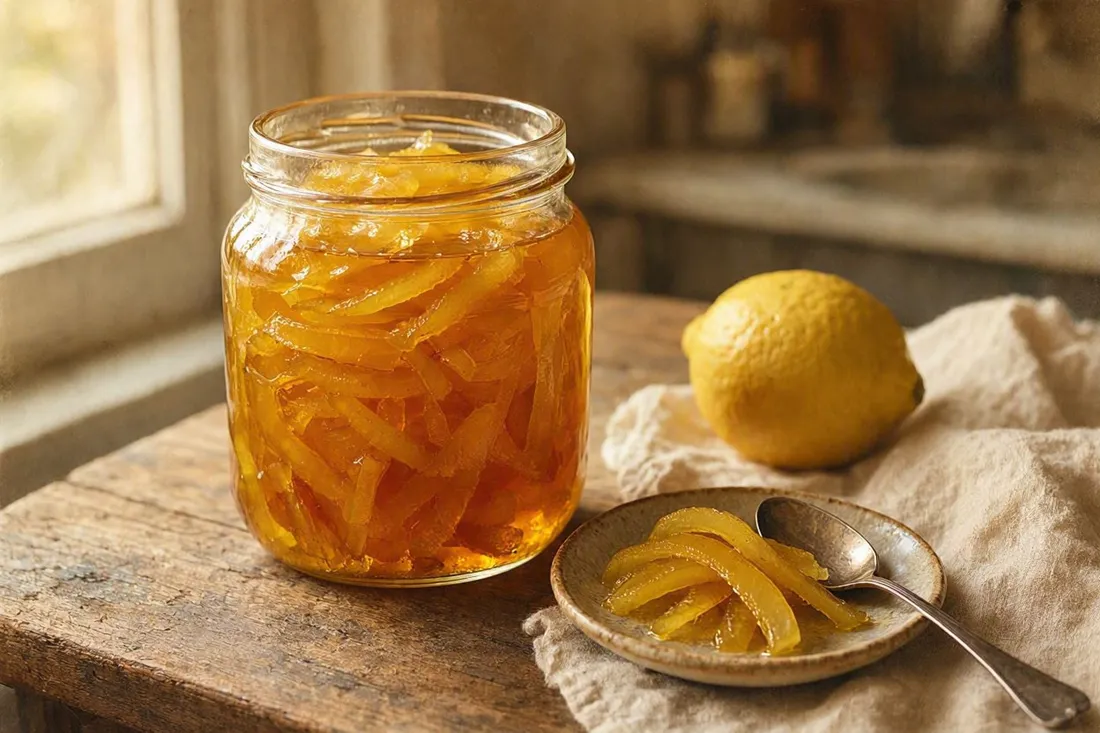
Lemon peel cut into decorative strips or rounds, blanched to mellow its bitterness, then candied in a thick lemon-scented sugar syrup.
Quick Summary
Lemon peel is blanched to mellow its bitterness, then candied in a lemon-sharpened sugar syrup until it falls heavily from a spoon. After resting overnight, it's jarred as a traditional spoon sweet with a bright, citrusy flavor.
Historical recipe
Modernised adaptation of an early 20th‑century source. Not independently kitchen-tested by Attic Recipes. Quantities, temperatures, and food safety guidance have been updated for a contemporary kitchen — results may vary and errors may exist. Nutritional values, where provided, are estimates only and have not been laboratory tested. Always follow current food safety guidelines for your region. If you have a health condition, allergy, or dietary requirement, consult a qualified professional before preparing this recipe.
Use of this recipe is entirely at your own risk and subject to our Terms of Service and Privacy Policy. Attic Recipes accepts no liability for any adverse outcome.
Additional notes
-
Warning
This recipe involves cooking a sugar syrup until very hot and thick. Hot sugar syrup causes severe burns on contact and clings to skin far more than boiling water does. Keep children away from the stove during the syrup stage, and take care when testing consistency or ladling the hot preserve into jars.
-
Caution
The peel is the edible part of this preserve, so use unwaxed, unsprayed (organic or untreated) lemons. Most commercially sold citrus carries a food-grade wax coating, and pesticide residues concentrate in the rind — scrubbing and baking soda soaks reduce surface residue but cannot remove wax reliably or reach residues absorbed into the rind itself. This is worth particular attention when preparing food for children, pregnant people, older adults, or anyone immunocompromised.
If unwaxed lemons aren't available, scrub thoroughly under warm water with a brush before use, and be aware this reduces but does not eliminate surface residue.
- 1
Scrub the lemons well under warm running water with a clean brush, then dry them. Lightly score the surface of each lemon's peel with a grater — just enough to scratch the surface, not to remove it. This helps the syrup penetrate later.
Tip Scrubbing removes surface dirt and residue, but it can't remove wax coatings or pesticides absorbed into the rind itself — which is why unwaxed, unsprayed lemons are the ingredient to start with. - 2
Cut the peel into sections the way you'd cut a watermelon into wedges, and separate the rind from the lemon's flesh.
- 3
From the peel sections, cut very thin, even strips, or use a thimble to punch out small round shapes.
Tip The finished preserve's appearance depends entirely on how neatly and evenly the peel is cut here, so take your time with this step. - 4
Blanch the peel in 2-3 changes of fresh boiling water, discarding the water each time, to soften the peel and mellow its bitterness.
- 5
Transfer the blanched peel to the cold water and let it sit for 10 minutes.
- 6
Drain the peel from the cold water and let it drain well until no more water drips off.
- 7
In a pot, dissolve the sugar in the 2 tbsp of water over medium heat and bring to a boil to form a syrup.
- 8
Add the drained peel to the syrup and the juice of the 3 remaining lemons. Cook, stirring occasionally, until a spoonful lifted from the pot falls back in heavy, slow drops rather than running off thin.
Tip This traditional doneness test corresponds to roughly 105°C (221°F) on a candy thermometer, if you'd rather check that way. - 9
Skim any foam from the surface, then cover the pot with a clean, damp cloth and let it rest overnight.
- 10
The next day, ladle the preserve into sterilized jars, seal, and store in a cool, dark place.
Nutrition Information per 1 tablespoon (about 20g)
Nutritional values are approximate estimates and may vary based on specific ingredients used, preparation methods, and portion sizes.
Serving Suggestions
Serve a small spoonful in a shallow dish, traditionally alongside a glass of cold water, as you would any spoon sweet.
About This Recipe
Most candied citrus peel recipes are content to leave the peel in rough strips, but this one treats the cutting itself as part of the craft — thin, even ribbons, or small rounds punched out with something as ordinary as a thimble. The result looks less like a rustic preserve and more like something you’d find in a confectioner’s window.
Getting there takes patience rather than skill. The peel is scored, sectioned, cut, blanched through several changes of water, and rested in cold water — all before it ever touches sugar. Only then does it go into a syrup sharpened with fresh lemon juice, cooked slowly until it thickens into the heavy, clinging syrup a proper spoon sweet needs.
It’s a preserve built for small, deliberate servings — a spoonful with a glass of water, not a spread for toast.
Why It Works
Blanching the peel through several changes of water draws out the bitter compounds concentrated just beneath the surface, which is what makes candied citrus peel pleasant to eat rather than sharply bitter. The brief cold-water rest afterward firms the peel slightly before it goes into hot syrup, helping it hold its cut shape.
The added lemon juice does double duty: it reinforces the citrus flavor that the sugar syrup would otherwise mute, and its acidity helps prevent the sugar from crystallizing as the syrup reduces down to the thick, slow-dripping consistency the finished preserve needs.
Modern Kitchen Tips
- Buy unwaxed or organic lemons for this one — it’s the single ingredient decision that matters most, since the peel is what you’re actually eating.
- A vegetable peeler followed by a sharp knife makes quick work of cutting even strips if you don’t have a specialized citrus tool.
- Don’t skip the overnight rest — it lets the syrup fully settle into the peel before jarring, and rushing straight to jars often leaves the syrup and peel unevenly distributed.
- Once opened, keep the jar refrigerated, even though it’s shelf-stable unopened in a cool, dark spot.
A classic of early 20th century home cooking, preserved and adapted for the modern kitchen.
The Story Behind This Recipe
Historical Context
Cutting citrus peel into decorative strips or small punched rounds, rather than simply chopping it, turned a preserve that could otherwise look plain into one worth serving to guests — spoon sweets like this one were traditionally offered in small dishes alongside a glass of cold water, as a gesture of hospitality. Sealing the finished jars with dampened cellophane tied over the mouth, which shrinks taut as it dries, was a common way to close preserves at home before screw-top canning lids were widely available.
Modern Kitchen Adaptation
This version specifies unwaxed, unsprayed lemons, which the original had no reason to mention — commercial wax coatings and systemic pesticides on citrus are largely later developments. Since the peel is the entire edible substance of this preserve rather than a flavoring, sourcing matters more here than in recipes using juice or a small amount of zest: washing and baking soda soaks reduce surface residue but cannot reliably remove wax or reach residues absorbed into the rind. The original describes lightly scoring the lemon peel's surface with a grater before cutting it into watermelon-style sections and separating it from the flesh — read here as working with the whole rind, not finely grated zest, since the later steps describe cutting the peel into thin strips or thimble-cut rounds, which needs larger pieces than fine zest would give. The quantities of blanching and soaking water aren't specified in the original and are estimated here. For better shelf life than the original's cellophane seal provides, this version recommends sterilizing the jars and sealing with proper canning lids instead — the high sugar and citrus acidity here already make for a naturally stable preserve, so no water bath processing is needed, but a good seal still helps it keep longer in storage.
This recipe is an independent modern adaptation developed from historical sources in the public domain. It is provided for informational and educational purposes only and does not constitute professional dietary, nutritional, or medical advice. Food preparation involves inherent risks. The reader assumes full responsibility for safe food handling, ingredient sourcing, and adherence to current local food safety guidelines. The site operator accepts no liability for outcomes resulting from the preparation or consumption of this recipe.
One recipe.
Every week.
You Might Also Like
More recipes you'll enjoy
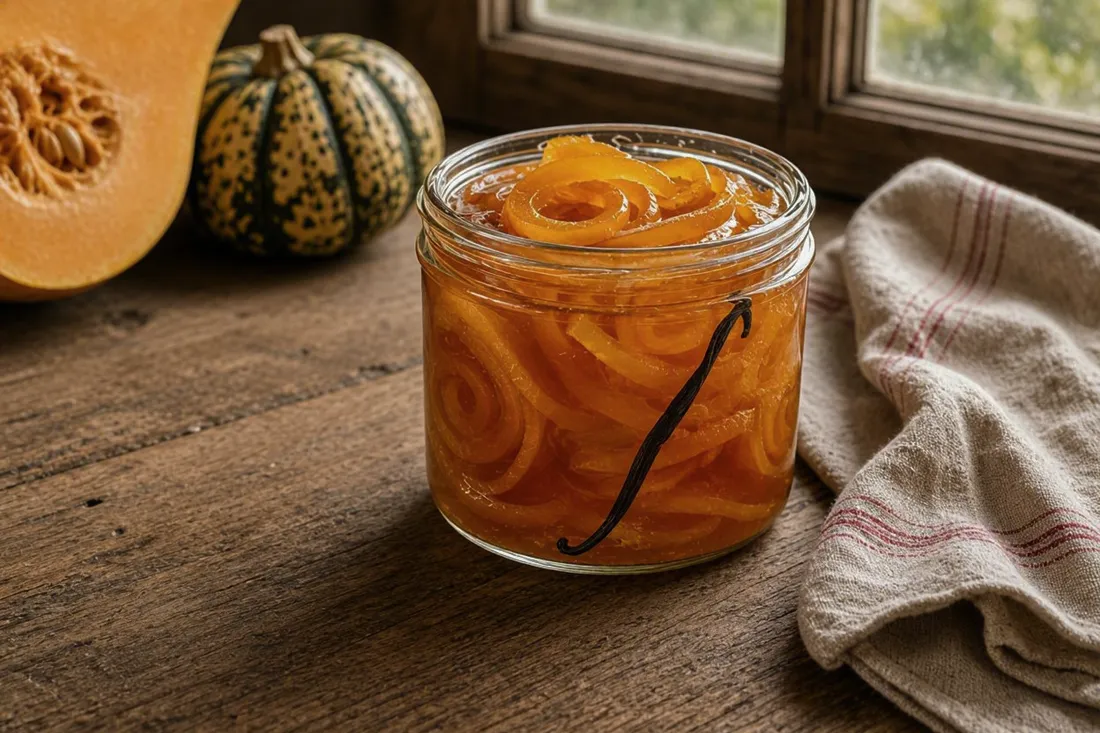
Candied Pumpkin Spoon Sweet in Vanilla Syrup
Firm pumpkin spirals, blanched tender, slowly candied in a vanilla-lemon sugar syrup until the syrup reaches the thickness of honey.
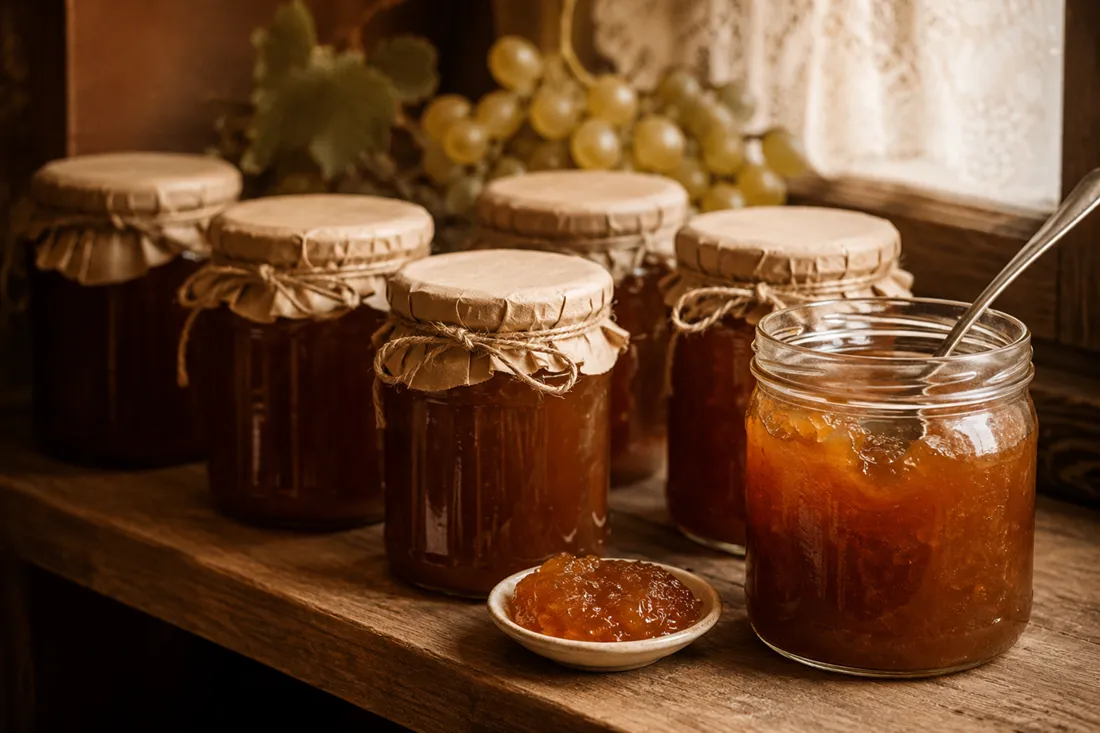
Grape and Quince Jam
White grape juice and pureed quince are simmered with sugar into a thick, spreadable jam, then jarred for keeping through the winter.

Candied Watermelon Rind
A frugal preserve made from watermelon rind, slow-cooked in vanilla-lemon sugar syrup until tender and glossy. Traditionally served with coffee.